One of the most significant steps in your photography journey is moving beyond automatic mode and taking control of your camera settings. Understanding the exposure triangle—aperture, shutter speed, and ISO—will transform your photography, allowing you to capture precisely the image you envision rather than the one your camera thinks you want.
In this comprehensive guide, I'll demystify these essential settings and show you how they work together to create properly exposed, creative photographs in any lighting situation.
The Exposure Triangle: Photography's Foundation
Think of the exposure triangle as a balancing act between three elements: aperture, shutter speed, and ISO. Each controls light in different ways and creates different effects in your images. The key to mastering camera settings is understanding how adjusting one element affects the others and your final image.
The exposure triangle: balancing aperture, shutter speed, and ISO
Aperture: Controlling Light and Depth
Aperture refers to the opening in your lens through which light passes to reach the camera sensor. It's measured in f-stops (like f/2.8, f/8, or f/16).
What Aperture Controls:
- Amount of light: Larger apertures (smaller f-numbers like f/1.8) let in more light; smaller apertures (larger f-numbers like f/16) let in less light
- Depth of field: This is arguably aperture's most creative effect
Understanding Depth of Field:
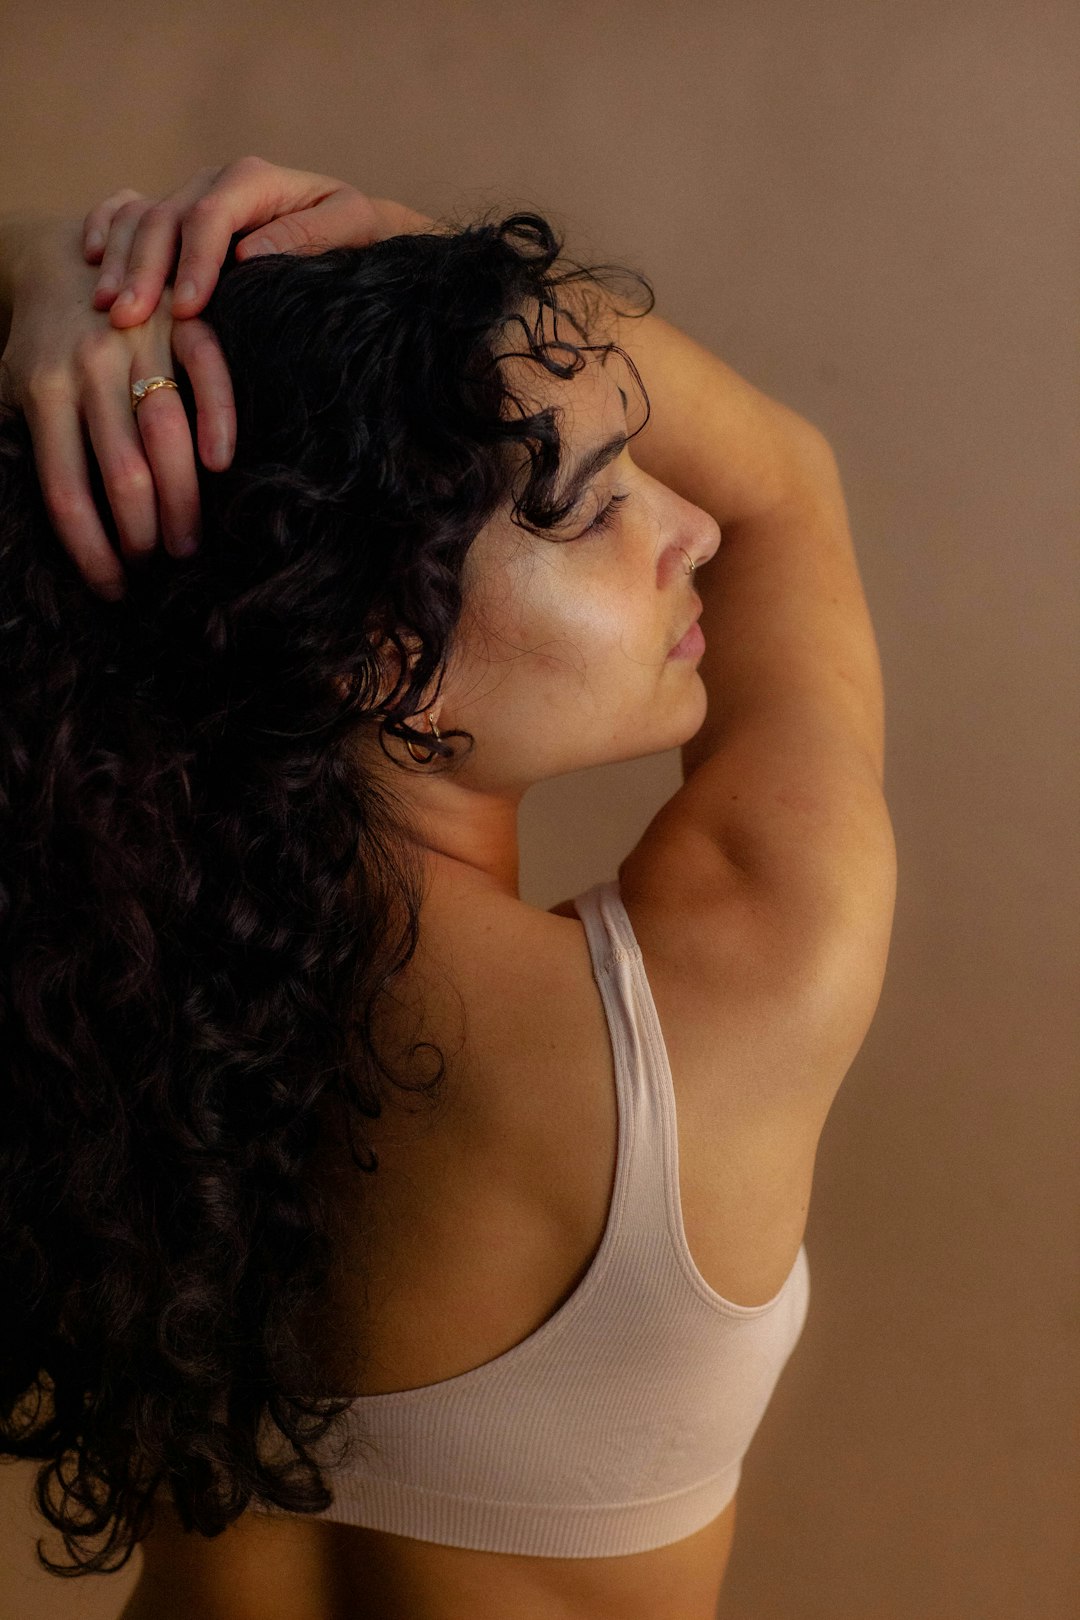
- Wide apertures (f/1.4, f/1.8, f/2.8) create a shallow depth of field, meaning your subject is in focus while the background is beautifully blurred (bokeh). This is ideal for portraits or isolating subjects from distracting backgrounds.
- Narrow apertures (f/11, f/16, f/22) produce a deep depth of field, keeping more of the scene in focus from foreground to background. This is perfect for landscapes or architectural photography.
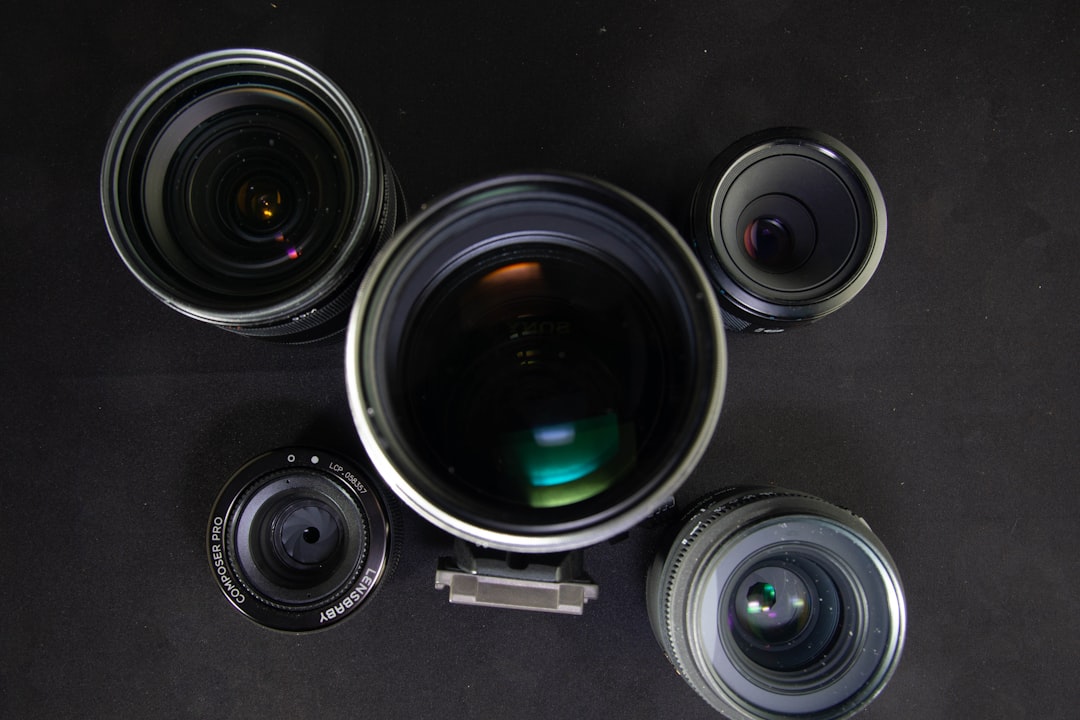
Remember: The specific f-numbers available to you will depend on your lens. Premium lenses often offer wider maximum apertures (like f/1.4), while kit lenses typically start around f/3.5-5.6 (varying as you zoom).
Shutter Speed: Controlling Time and Motion
Shutter speed determines how long your camera's sensor is exposed to light. It's measured in seconds or fractions of a second (like 1/60, 1/250, or 2").
What Shutter Speed Controls:
- Amount of light: Slower speeds let in more light; faster speeds let in less light
- Motion: How movement is captured in your image
Creative Effects with Shutter Speed:
- Fast shutter speeds (1/500, 1/1000, 1/2000) freeze motion, capturing fast-moving subjects with crystal clarity. Perfect for sports, wildlife, or stopping water droplets in mid-air.
- Slow shutter speeds (1/15, 1/8, 1", or longer) blur motion, creating smooth water effects, light trails, or conveying a sense of movement. Ideal for waterfalls, night photography, or intentional creative blur.
A common rule of thumb for handheld shooting is to use a shutter speed no slower than 1/[focal length] to avoid camera shake blur. For example, with a 50mm lens, try not to go below 1/50 sec without stabilization.
Left: Fast shutter speed freezing motion; Right: Slow shutter speed creating motion blur
ISO: Controlling Light Sensitivity
ISO determines how sensitive your camera's sensor is to light. It's measured in numbers like 100, 400, 3200, etc.
What ISO Controls:
- Sensor sensitivity: Higher ISO makes the sensor more sensitive to light
- Image noise: Higher ISO introduces more noise/grain to images
Key ISO Considerations:
- Low ISO (100-400) produces the cleanest images with minimal noise. Use these whenever you have sufficient light.
- Medium ISO (800-1600) introduces some noise but is still very usable on modern cameras. These are good for indoor situations without flash.
- High ISO (3200+) can show noticeable noise but allows you to shoot in very low light. The acceptable upper limit varies significantly between camera models.
Think of ISO as your last adjustment after setting aperture and shutter speed based on your creative goals. Only increase ISO when you need more light and cannot widen aperture or slow down shutter speed further.
Bringing It All Together: The Exposure Triangle in Practice
Understanding how these three elements interact is key to taking control of your photography. Here's how to approach exposure in different scenarios:
Scenario 1: Portrait Photography
- Start with aperture: Choose a wide aperture (f/1.8 - f/4) for pleasing background blur
- Set shutter speed: Fast enough to prevent motion blur (at least 1/125s for most portraits)
- Adjust ISO: Keep as low as possible while maintaining proper exposure
Scenario 2: Landscape Photography
- Start with aperture: Choose a narrow aperture (f/8 - f/16) for deep depth of field
- Set ISO: Keep at base ISO (typically 100) for maximum image quality
- Adjust shutter speed: Use whatever speed gives proper exposure (often requiring a tripod for slower speeds)
Scenario 3: Sports/Action Photography
- Start with shutter speed: Fast enough to freeze action (often 1/500s or faster)
- Set aperture: As wide as possible while maintaining necessary depth of field
- Adjust ISO: Increase as needed to maintain proper exposure with fast shutter speed
Understanding Exposure Modes
Modern cameras offer several semi-automatic modes to help you control specific aspects of exposure while the camera handles others:
- Aperture Priority (A or Av): You set the aperture, and the camera selects the appropriate shutter speed. Ideal for portraits or landscapes where depth of field is your primary concern.
- Shutter Priority (S or Tv): You set the shutter speed, and the camera selects the appropriate aperture. Perfect for sports or wildlife photography where freezing or blurring motion is key.
- Program (P): The camera selects both aperture and shutter speed, but you can shift the combination. More flexible than Auto mode.
- Manual (M): You control both aperture and shutter speed independently. Provides complete creative control.
I recommend starting with Aperture Priority or Shutter Priority modes as you learn, then gradually transitioning to Manual mode as you become more comfortable.
Understanding Metering and Exposure Compensation
Your camera's metering system measures the light in a scene to determine proper exposure. However, it doesn't always interpret scenes the way you want:
- Matrix/Evaluative Metering: Analyzes the entire frame
- Center-weighted Metering: Emphasizes the center of the frame
- Spot Metering: Measures only a small area, typically around your focus point
When the camera's metering doesn't match your vision, use exposure compensation (usually a +/- button) to override it:
- Positive compensation (+) makes the image brighter
- Negative compensation (-) makes the image darker
Common scenarios requiring compensation include:
- Bright snow scenes (often need +1 to +2)
- Backlit subjects (often need +1 to +2)
- Very dark subjects against lighter backgrounds (often need -1)
Using the Histogram
Your camera's histogram is the most reliable way to evaluate exposure. This graph shows the distribution of tones from shadows (left) to highlights (right):
- A graph pushed against the left edge indicates underexposure (lost shadow detail)
- A graph pushed against the right edge indicates overexposure (blown highlights)
- Ideally, your histogram should have information throughout, without significant clipping at either end
Remember that the "perfect" histogram depends on your subject—a high-key scene will naturally be weighted toward the right, while a low-key scene will be weighted toward the left.
Practical Tips for Mastering Camera Settings
1. Start with One Variable
When learning, try exercises where you only change one setting at a time to see its isolated effect:
- Aperture: Photograph the same scene at f/2.8, f/5.6, f/11, and f/16
- Shutter speed: Photograph moving water at 1/500s, 1/125s, 1/15s, and 1s
- ISO: Take the same photo at ISO 100, 800, 3200, and 6400
2. Practice Reading Light
Train yourself to estimate exposure before looking at your camera's meter. Ask: "Is this scene bright, average, or dark?" This skill develops with practice and makes you more intuitive with settings.
3. Learn Your Camera's Limits
Every camera model has different capabilities:
- How high can you push ISO before noise becomes unacceptable?
- How slow can you handhold your camera with different lenses?
- How well does your camera handle high-contrast scenes?
4. Bracket When Uncertain
If you're unsure about exposure, use bracketing to capture the same image at different exposure values. Many cameras have automatic bracketing features.
Final Thoughts: Beyond Technical Settings
While mastering these technical aspects is crucial, remember that they are tools to serve your creative vision, not ends in themselves. The best photographers aren't necessarily those who know every technical detail, but those who understand how to use these tools to express their unique perspective.
As you practice, these settings will become second nature, allowing you to focus less on the mechanics and more on composition, light, and the story you want to tell with your images.
What aspects of camera settings do you find most challenging? Let me know in the comments, and I'll be happy to provide further guidance!